DIY Chalkboard Sign
This post is a tutorial to create a DIY Chalkboard Sign! I upcycled a Christmas gift from a relative (shhh!) that was cute… but didn’t go with the decor in my home. I really liked the shape of the sign though and thought it would make an adorable chalkboard. You can probably find a similar style sign at the Dollar Store, or Michael’s Crafts or Hobby Lobby etc. I’ve included all the step by step instructions, along with a transfer pattern for a pretty Laurel wreath that you can add to the bottom of the chalkboard if you like. The wreath just adds a little extra flair!

Instructions for DIY Chalkboard Sign:
This is a fast and fun project that I did recently … it’s a cute Chalkboard Sign!
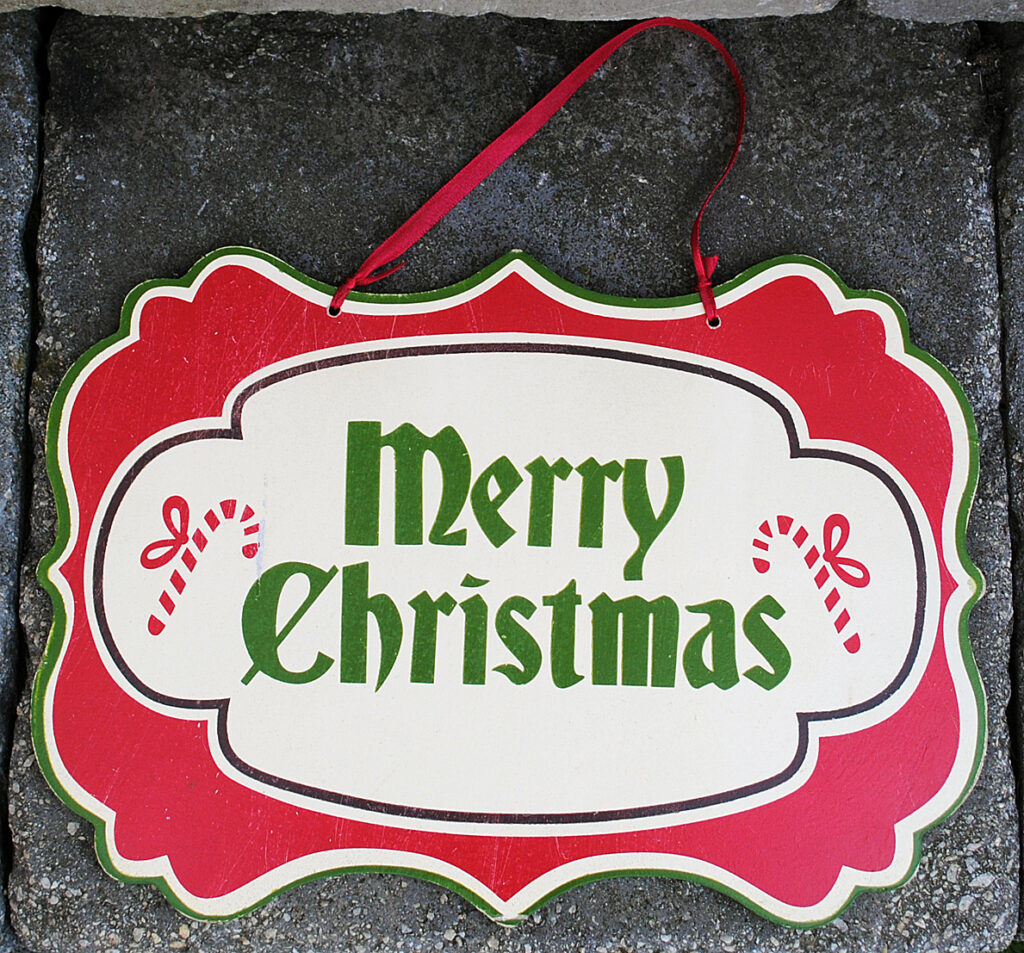
This is the before. It was actually um … a gift from a relative at Christmas. Shhh! Don’t tell! Nothing wrong with it really, it just doesn’t fit with my decor, but I loved the fun shape of it, so I guess it was a good gift after all!
DIY Chalkboard Sign Supply List:
1) Blank Wooden (or MDF) Sign
2)Chalkboard Paint
3)Graphite/Transfer Paper for Dark Surfaces
4)Fine Tipped White Paint Marker
5)Paintbrush
6)Masking Tape
7)Pencil
8)Ribbon for hanging or hanging hardware for the back
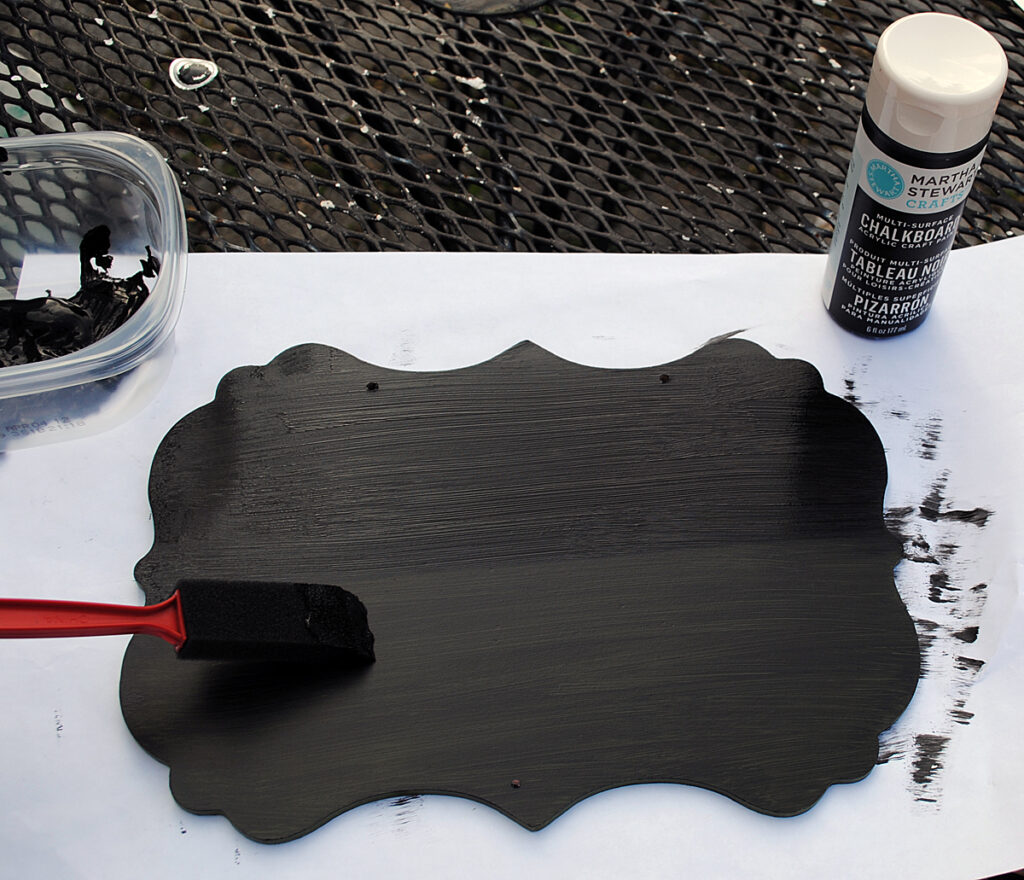
Step 1) Follow the instructions on the Chalkboard paint and paint your board. I used 3 coats here. Let dry overnight to cure completely.
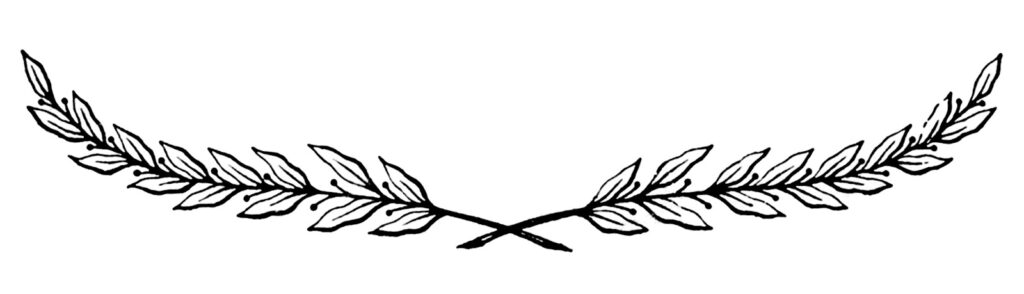
This is the Laurel Wreath Transfer Image that I created for this project. It was actually on the back of a Vintage postcard, I thought it was so lovely!
Step 2) Print out the Laurel Wreath image from up above and trim around it with scissors.
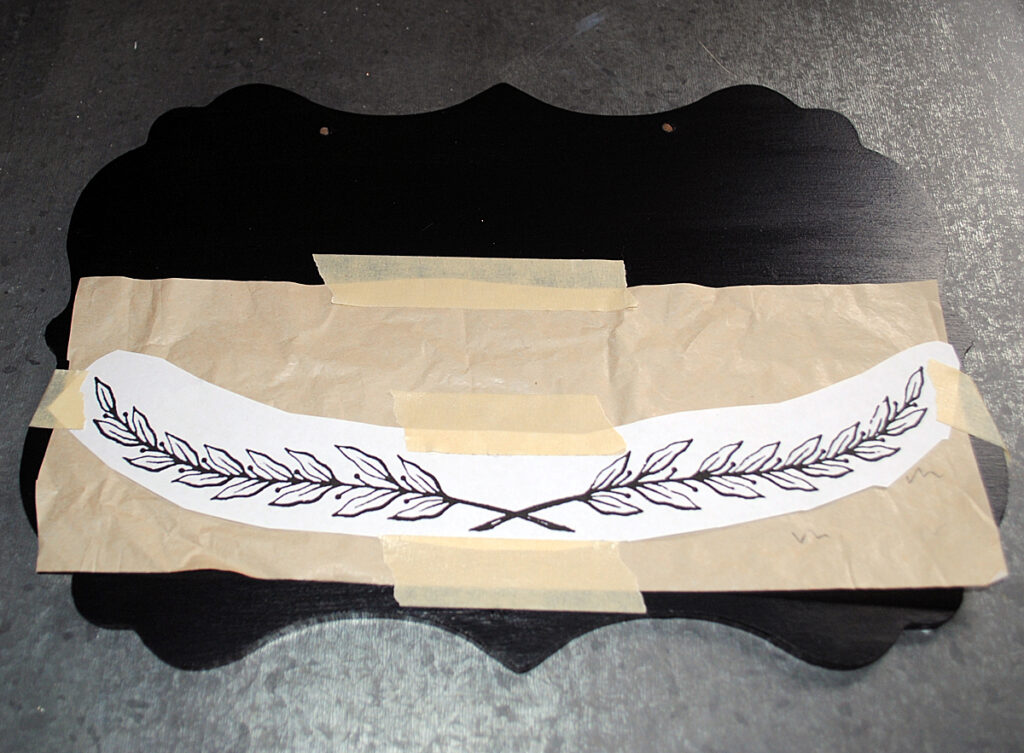
Step 3) Lightly tape the Graphite paper to your sign and (make sure you have the correct side facing down!) and tape the wreath on top of it.
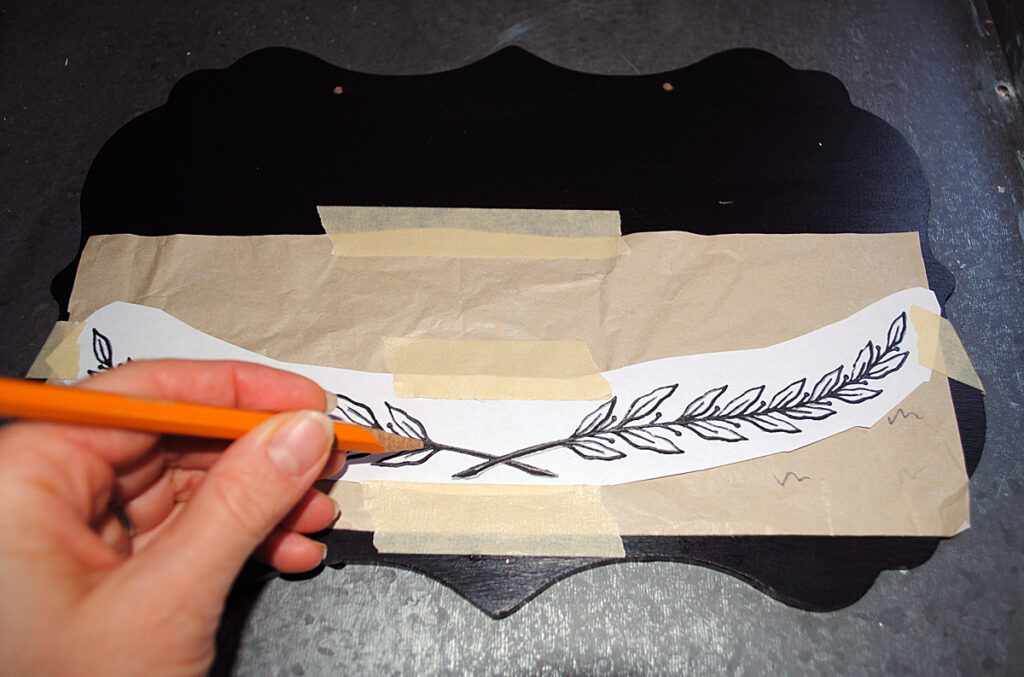
Step 4) Use the Pencil to trace along the whole design. Your basically just redrawing the whole image, right on top of the printed image.
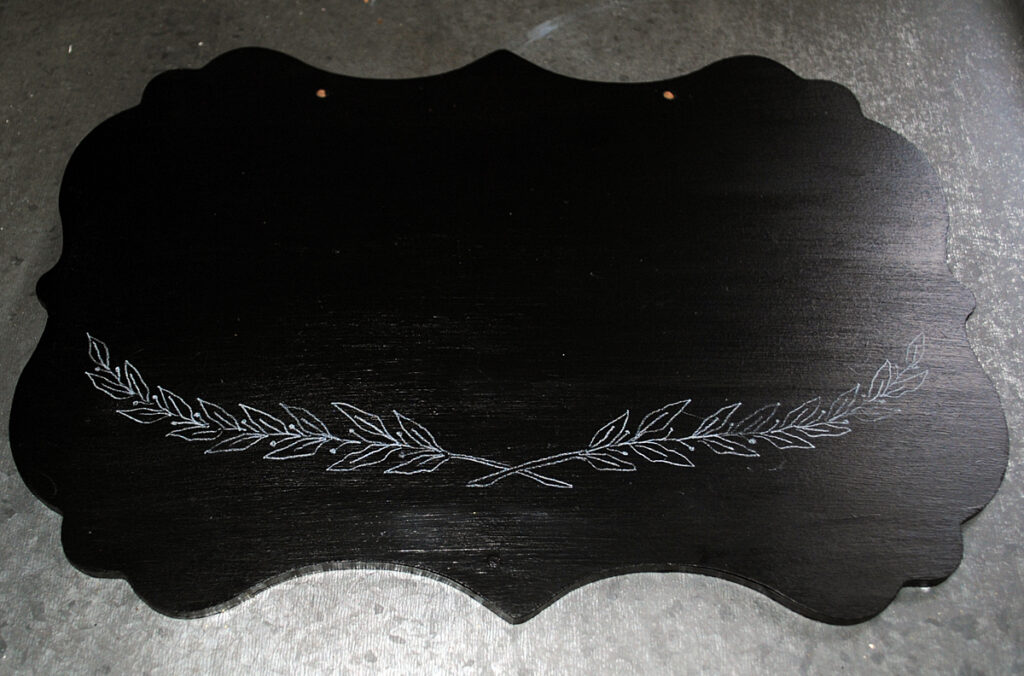
Step 5) Remove the Graphite Paper and the printed design, and this is how it should look underneath. The Laurel wreath is just lightly imprinted on to the black paint.
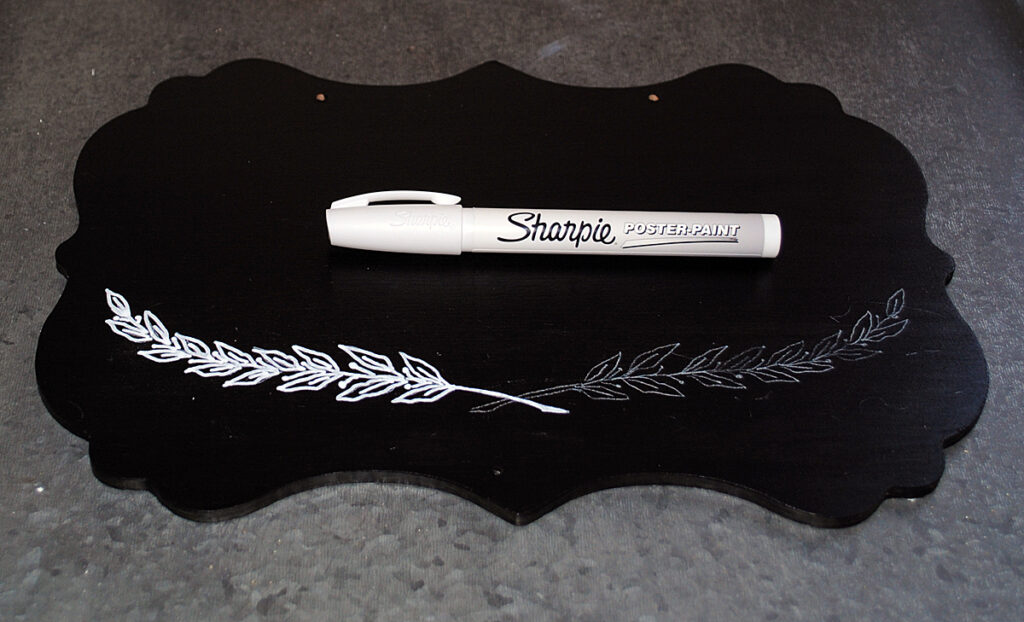
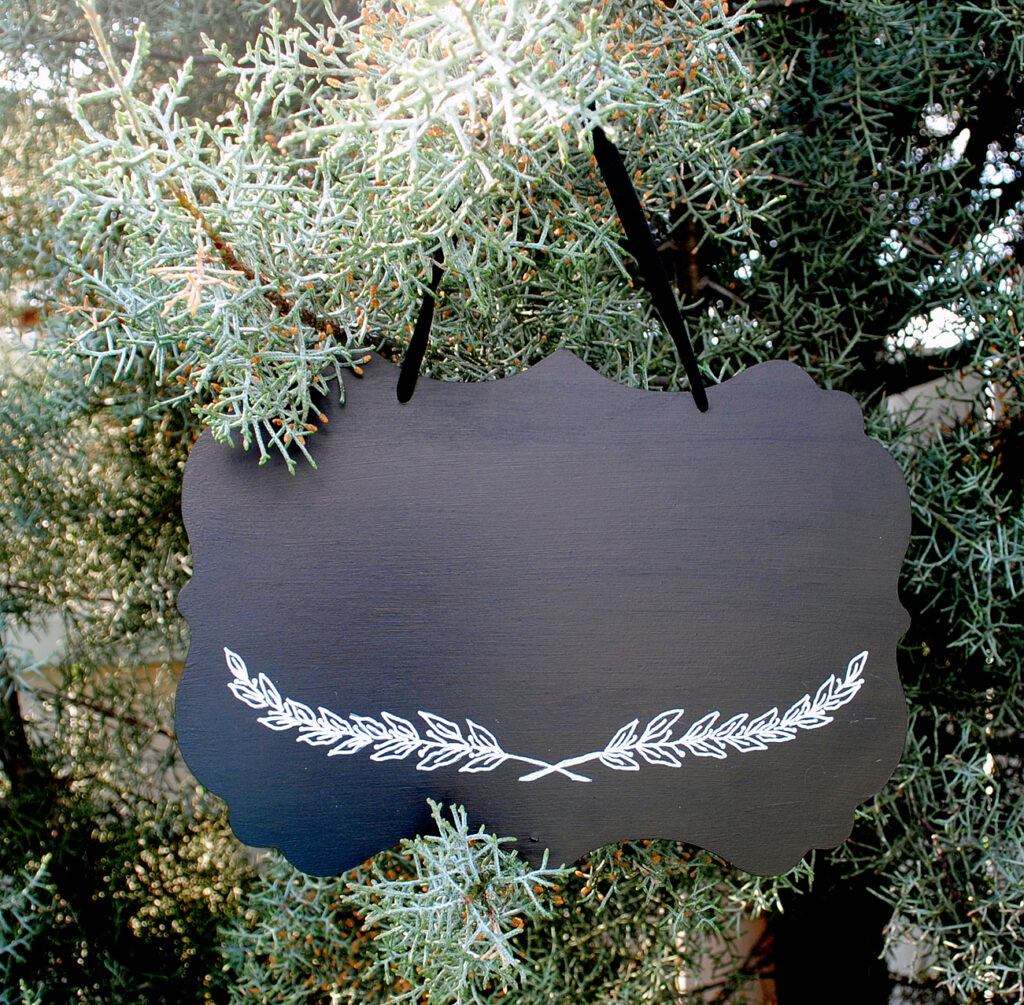
Step 6) Go over the transferred image with the Fine Tip Paint Marker. And allow to dry completely. This will make the wreath design really pop and it will be permanent on there then. Plus bonus, it looks like Chalk, so it will look nice with whatever you write in chalk on the sign afterwards.
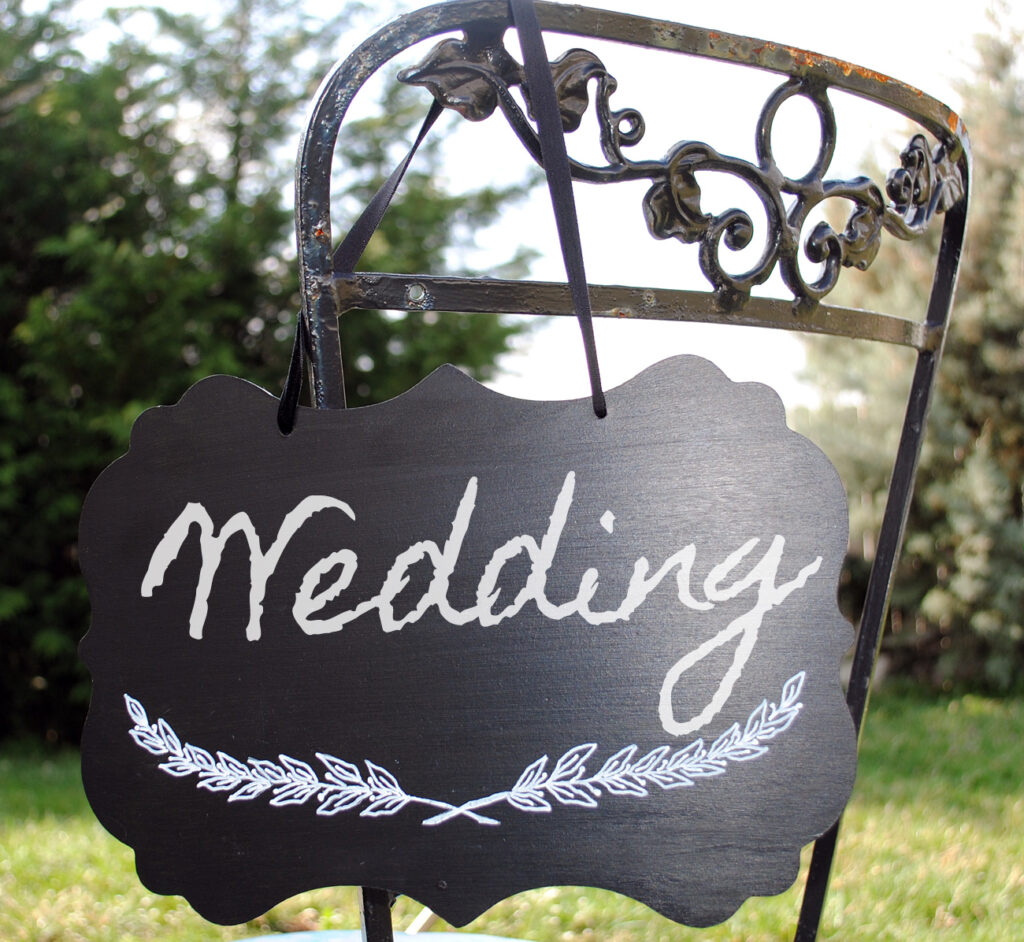
Finished DIY Chalkboard Sign for Wedding or Showers
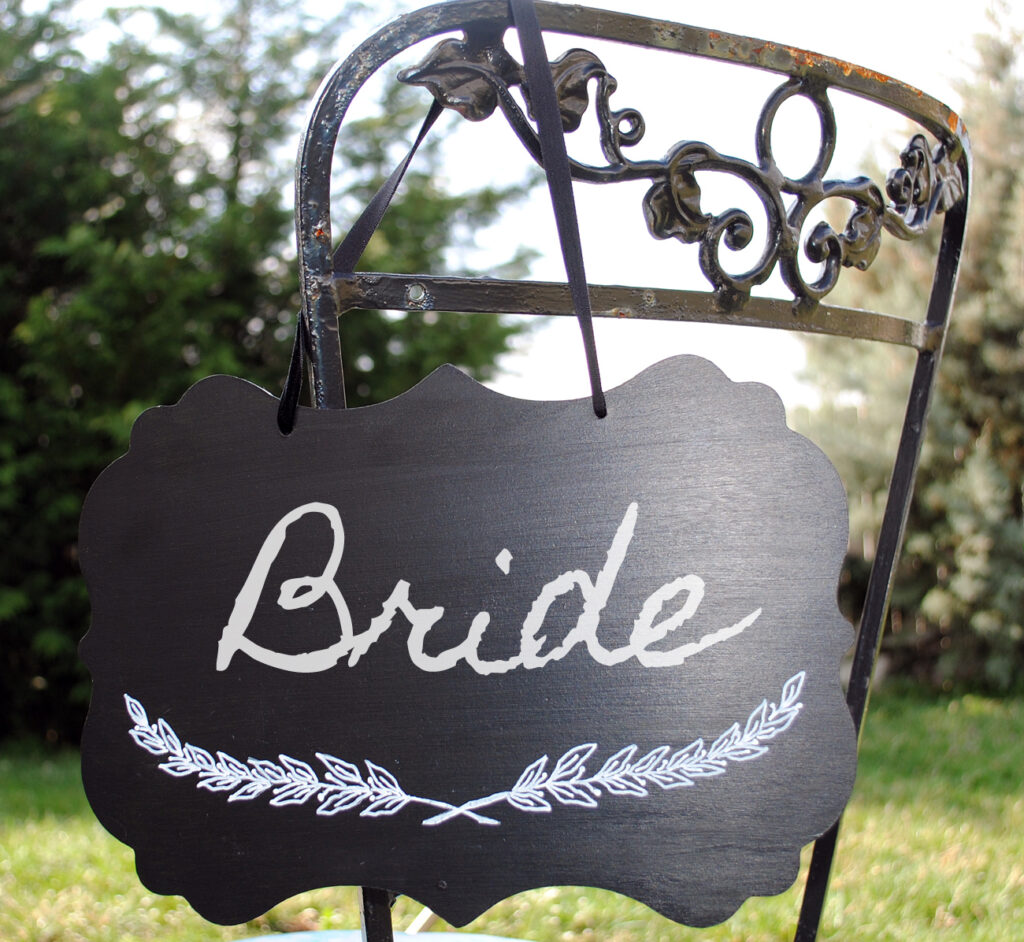
That’s it! I just added a simple velvet ribbon to the top and it’s all done! I thought this might be useful for Weddings, Showers or Parties, but it can used for whatever you like! And true confession time, I have the absolute worst handwriting! So I cheated and used photoshop to write Bride above and Wedding on the one below. But at least you get the idea!
Overall I think it’s pretty cute and useful too!
I hope you enjoyed this fun step by step tutorial for this DIY Chalkboard Sign. You might also like the Free Chalkboard Printable Labels that we have HERE.
Hello! Are you new to The Graphics Fairy?
Welcome, I’m so glad you’re here! Browse around to find thousands of Stock Images that you can use in your projects or designs! I post new Vintage images every day, as well as projects and DIY’s too! Need more info about my site? Try my FAQ page.